Since all my electronics is in boxes for the
redecoration of my workshop. I thought it would be nice to show an old robot project of mine.
This robot was built as a line following robot. The motors, gears and wheels of the robot is from the scarab beetle robot I built with my 7 year old.
On top of that base I built myself a H-bridge circuit to control the motors. An
H-bridge lets you run an engine in both the forward and the backward direction. To control two motors you need two H-bridge circuits. The H-bridge is built out of a set of npn and pnp transistors as well as some diods and resistors to protect the Arduino board from the inducted voltages from the motor.
 |
| The H-bridge on a protoboard running a 3V motor. |
The H-bridge is controlled from an homemade Arduino board. The Arduino controlls the direction of the engines and collects sensor inputs from a set of photo diods and and IR-LED. The IR-led is turned on and off and the photo-diode captures the difference in amount of reflected light. That way the Arduino board can figure out the reflectivity of the surface under the robot.
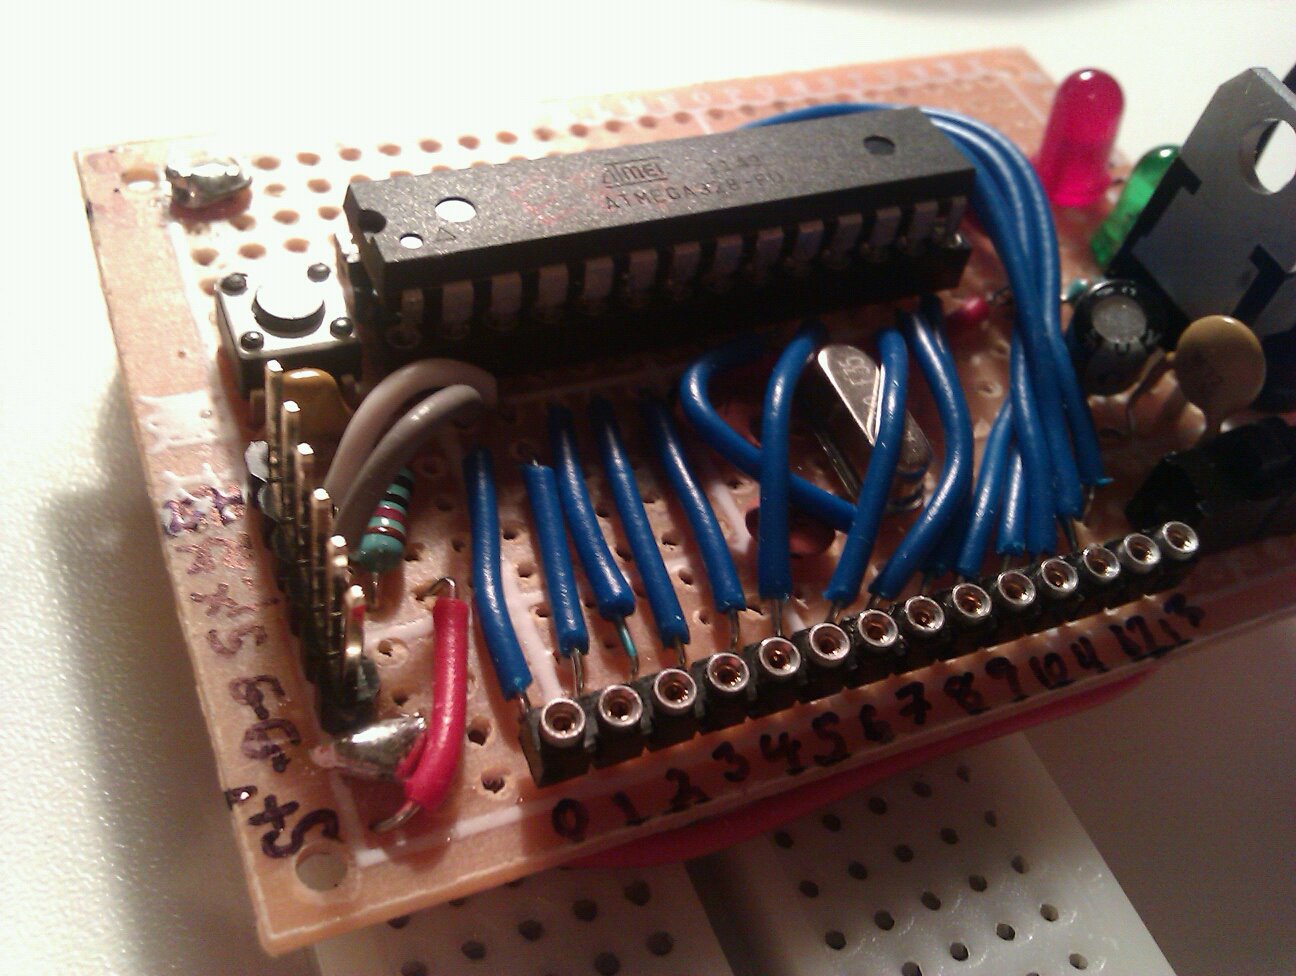 |
| Homemade Arduino |
I put two sets of reflectivity sensors in the front of the robot on a breadboard so I can add and remove stuff. The robot starts by calibrating the sensors so it turns left and turns right and back to center in order for both sensors to capture the maximum and minimum reflective of the dark line versus the floor.
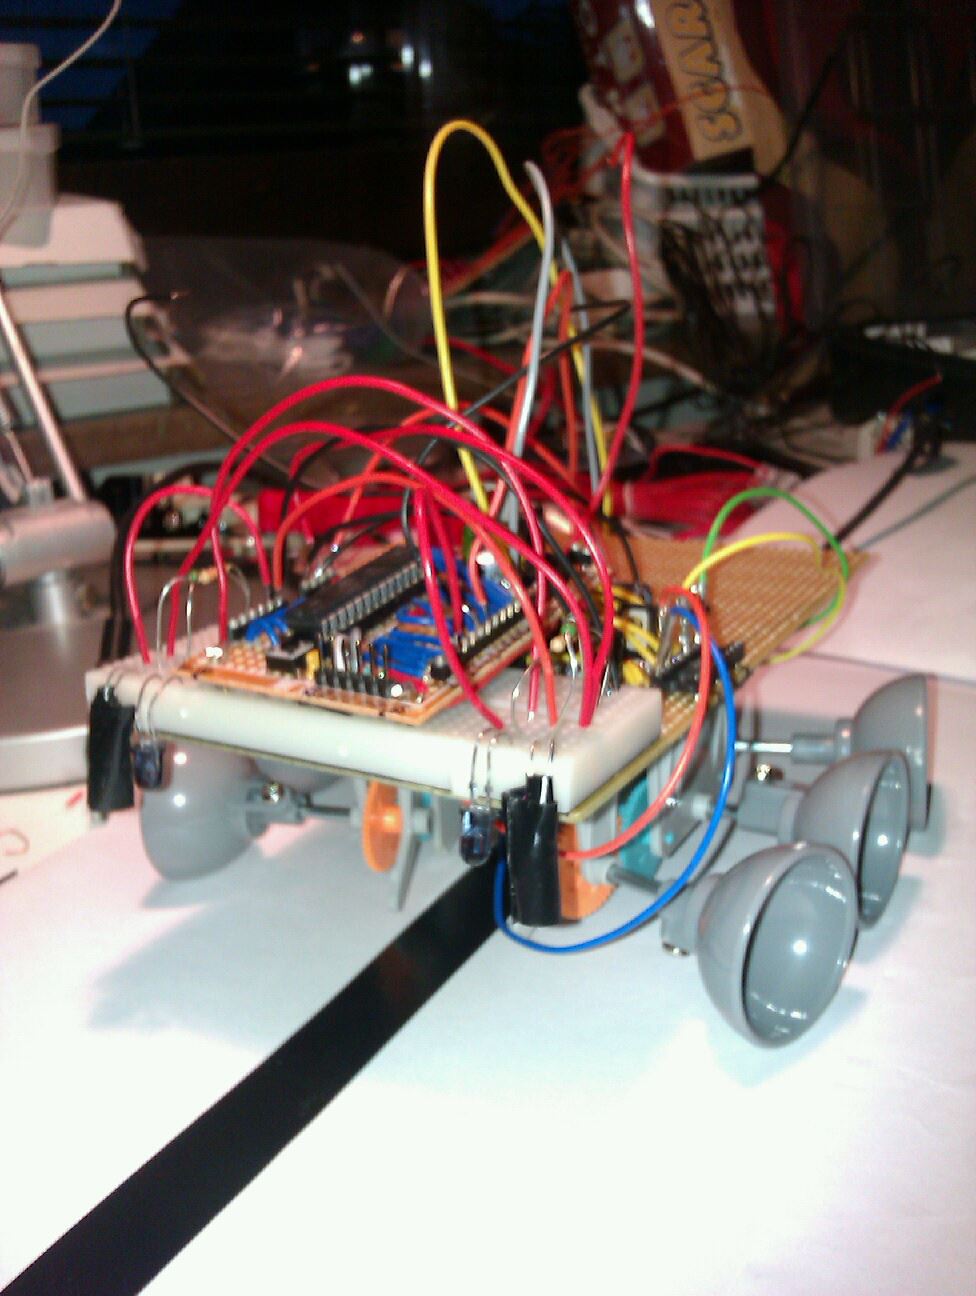 |
| The robot in all its glory, lots of cable-mess |
The robot could follow a line on the floor in a roughly circular pattern, it had to be driven quite slowly in order to not miss the line and run away. The code was very simple, if a sensor encounters the black line, turn in the opposite direction a bit.
This was built around a year ago, now I really want work on my
Robot mapping project or I will when I'm finished with redecorating the workshop.

No comments:
Post a Comment