I find myself in constant shortage of USB to serials and/or USB ports. On my breadboard setup I intend to have one permanently mounted home-built Arduino board and it would be nice to be able to use the same serial port for other things and just being able to swap MCU with a switch, while remaining power to both MCU's.
Another issue I have is that I want to be able to run the USB to serial in 3V3 and not 5V, so I want to build a 5V->3.3V converter with two switchable outputs.
Parts
2 x
74HC125N DIP-14 Quad bus buffer, negative enable
data sheet
1 x
LD1117V33 3.3V voltage regulator
data sheet
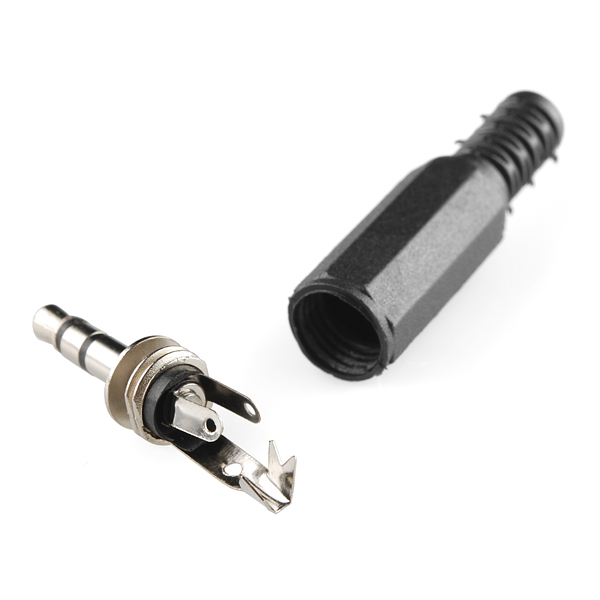
1 x Arduino Serial
1 x Switch
1 x 547B Transistor
2 x 10Kohm resistors
The 74HC125 is kind of nice for this since it has ideal properties for voltage convertions between 3.3V and 5V, power it by 3.3V and it is not sensitive to 5V output. Also a 3.3V output from the 74HC125 is interpreted as a high on the 5V arduino.
Also the 74HC125 has a "Output Enable" or OE on each buffer so that we can shut it off.
Connections
Connect all Output Enables (OE) together on one 74HC125. When pulling those 4 OE low the buffer is enabled for the first serial connected MCU. Pulling high puts the 74HC125 in a high impedance state(not transmitting).
Connect RX on the USB to serial to 4Y and TX to 2A. Connect 4A to the first MCU TX and 2Y to the first MCU RX.
Connect all Output Enables (OE) together on the other 74HC125 but not together with the first 74HC125. pulling this low would enable connection to the other serial connected MCU. Pulling high puts the 74HC125 in a high impedance state(not transmitting).
Connect RX on the USB to serial to 4Y and TX to 2A same as with the other MCU. Connect 4A to the second MCU TX and 2Y to the second MCU RX.
I have this working on a breadboard now, but I intend to put a switch on it by connecting the second 74HC125 OE line to a not gate circuit so that it goes low when the input is high and connecting the second OE line to the other side of the not gate. Only one chip can now be active at the same time... connect to a switch voila...
 |
| The 547B can be used as a not gate using a transistor |
To be continued...